
The LoomRoom Cross-Stitch Guide
Part 4 - Stitching
How to stitch a cross
A cross stitch consists of two diagonal stitches that cross in the centre of a square.
The Basic Method:
Bring the needle up from the back of the fabric in the bottom-left corner of the square.
Insert the needle down into the top-right corner.
Bring the needle up again in the top-left corner.
Insert the needle down into the bottom-right corner.
This completes one full cross stitch.
The most important rule is that all of the top stitches should slant in the same direction throughout your project. This gives your embroidery a neat, even and professional appearance.
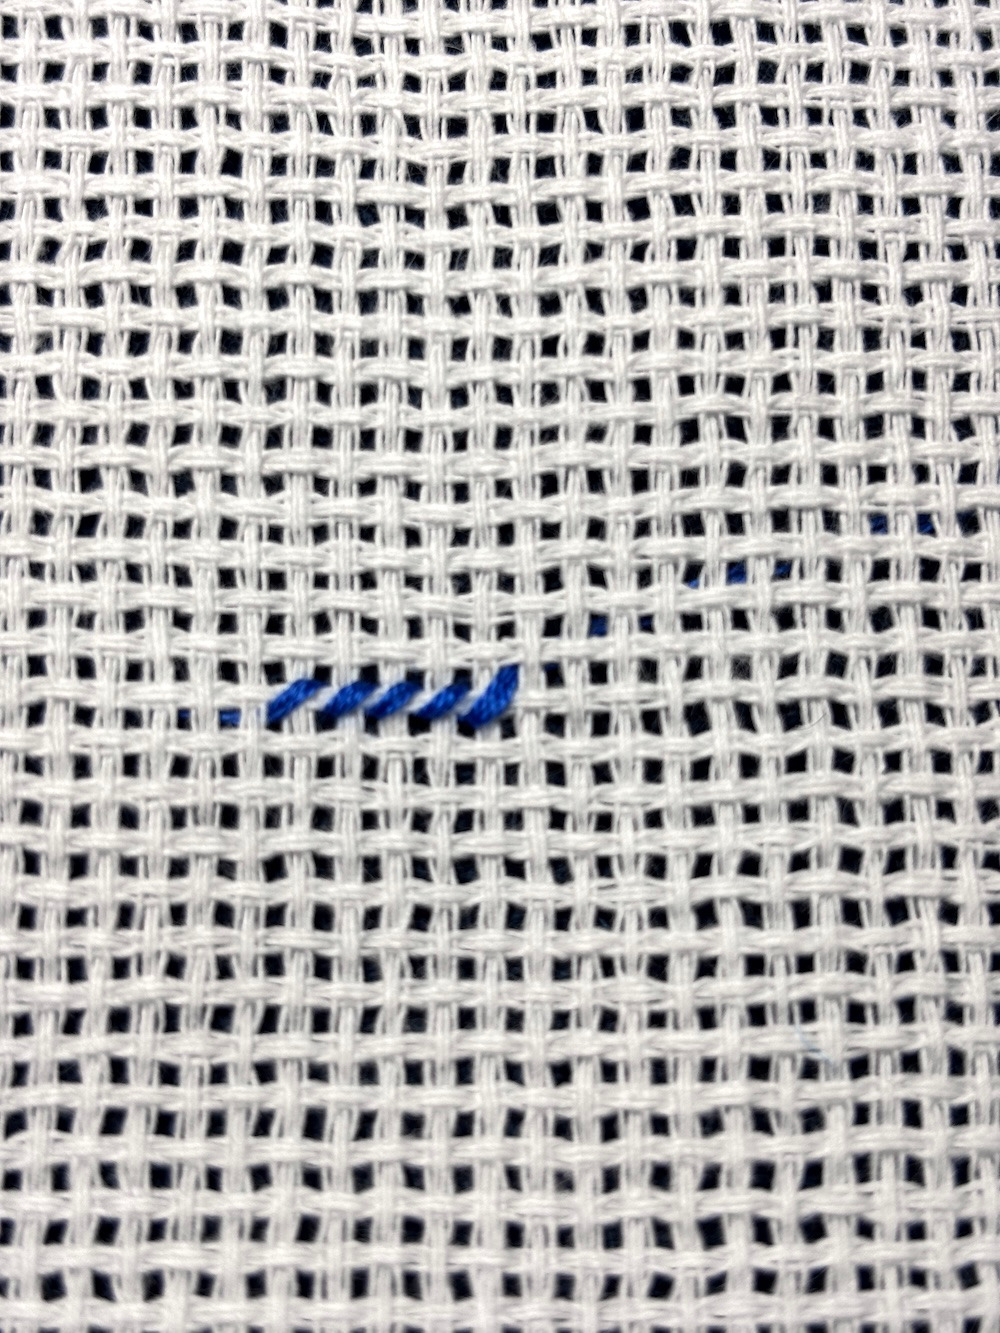
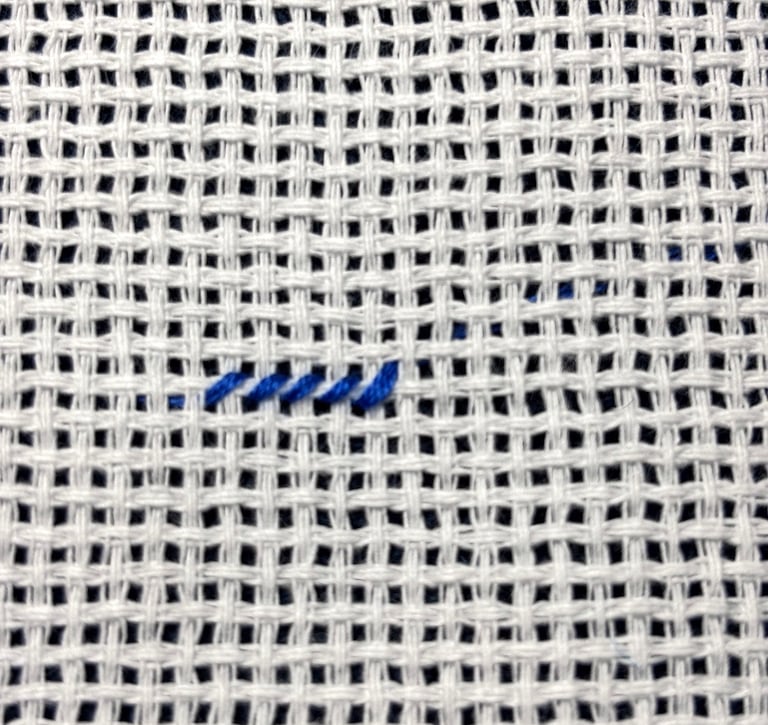
You can stitch one cross at a time or work in rows. For longer sections, it is often quicker to stitch all of the lower diagonal stitches first, then work back across the row to complete each cross with the upper diagonal stitches.
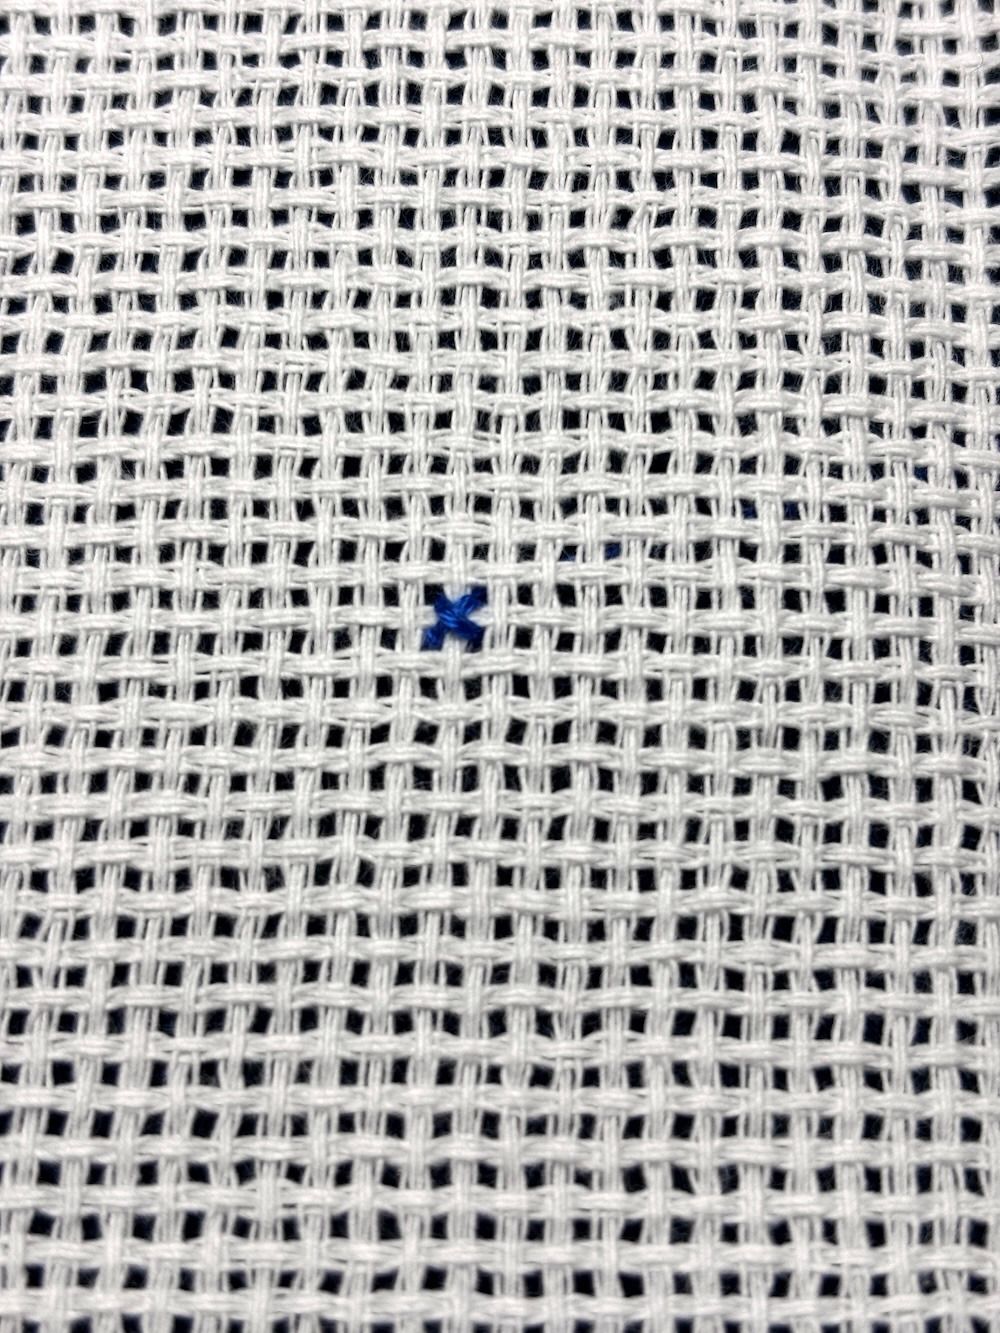
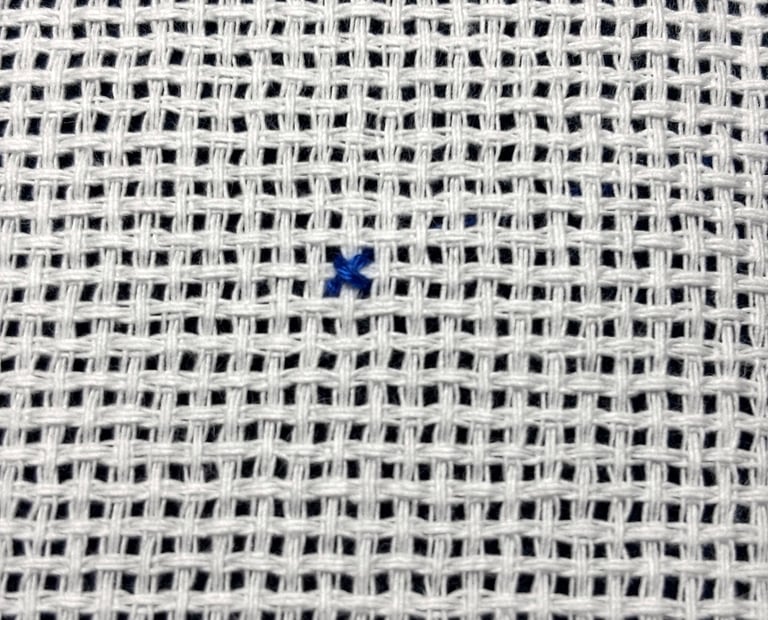
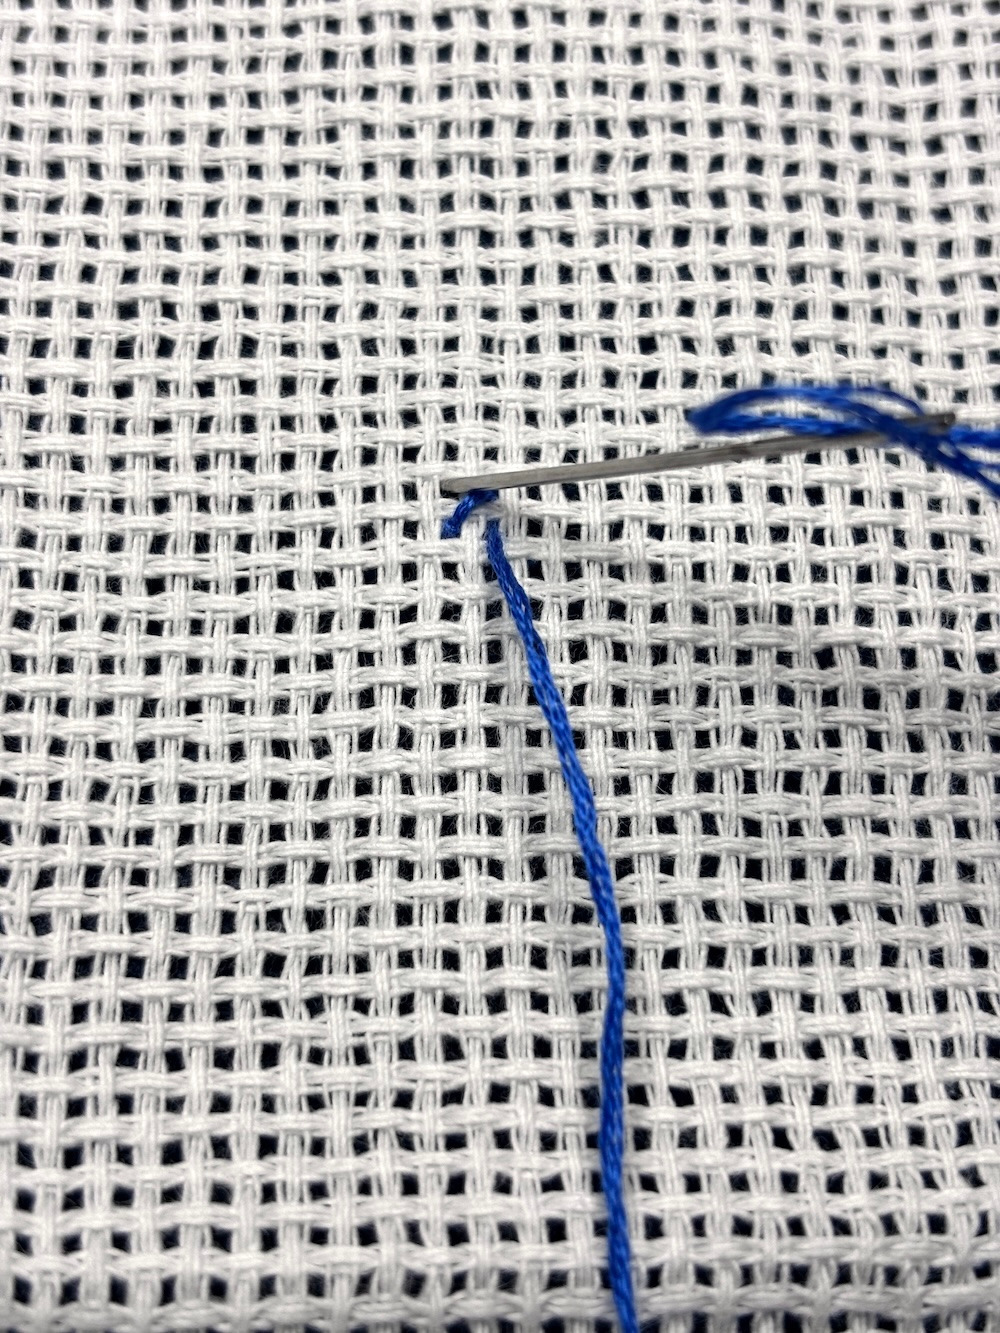
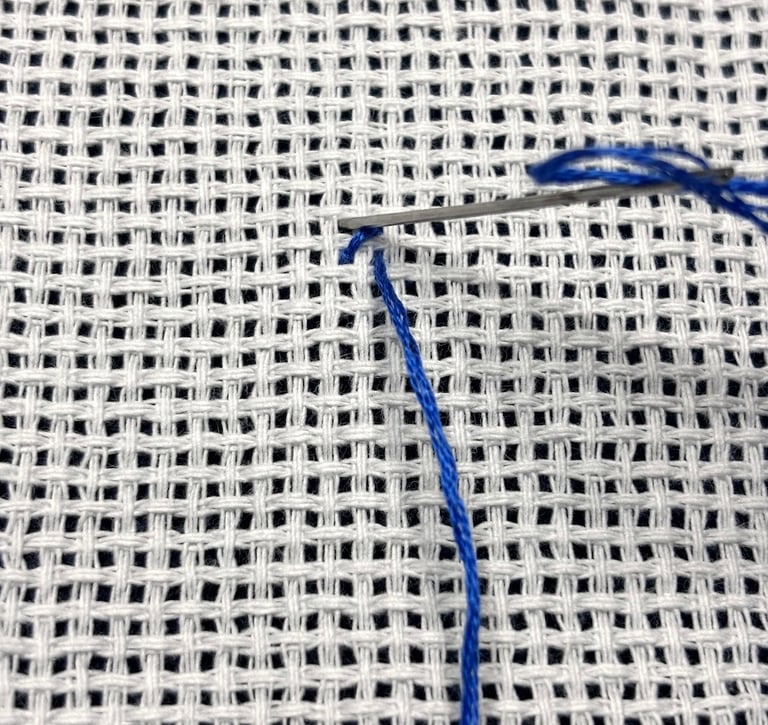
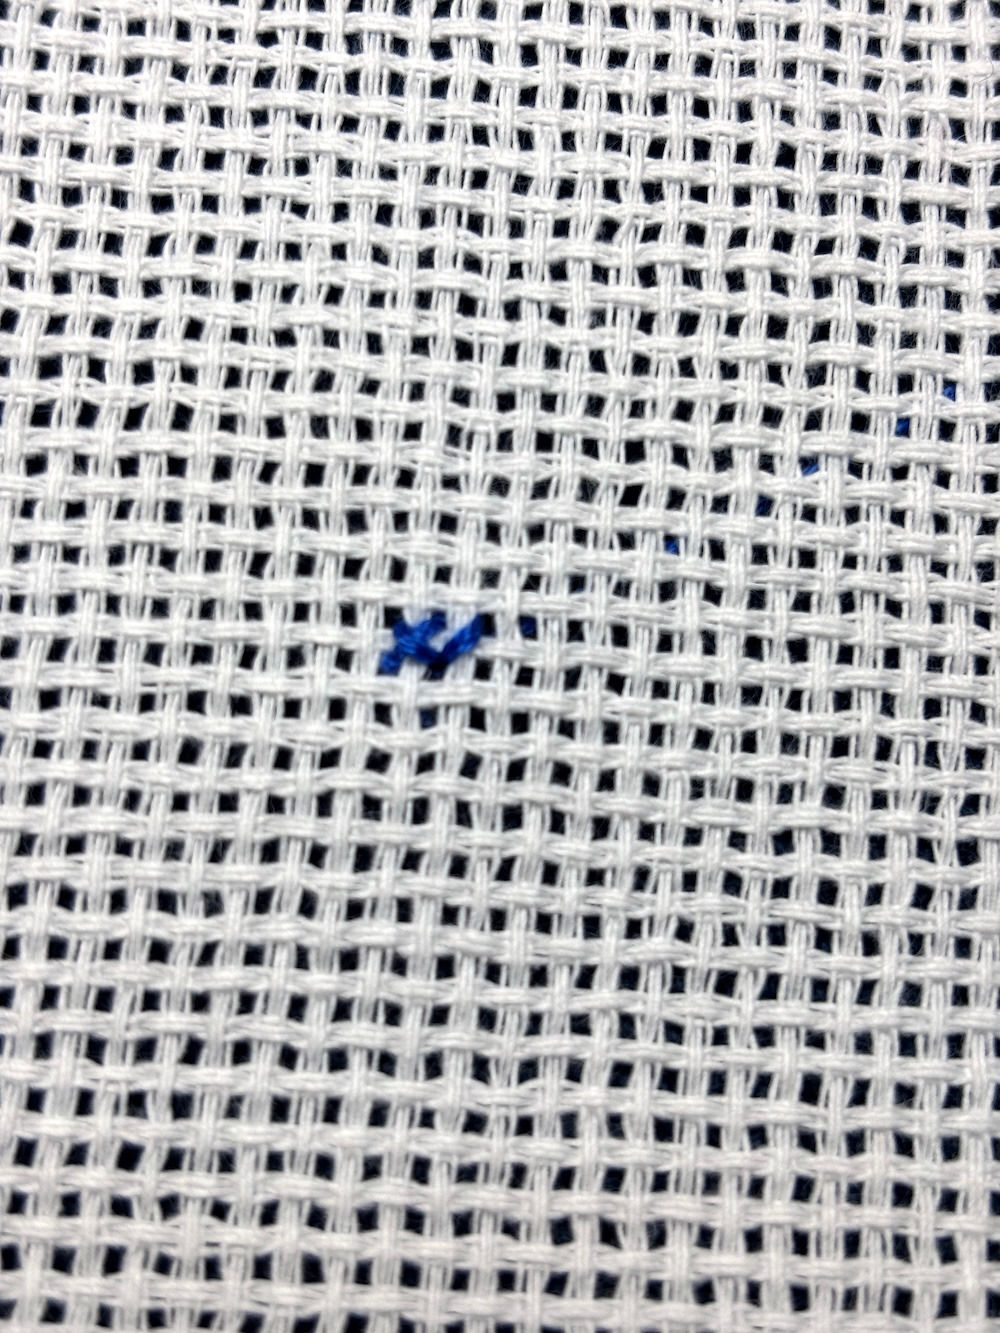
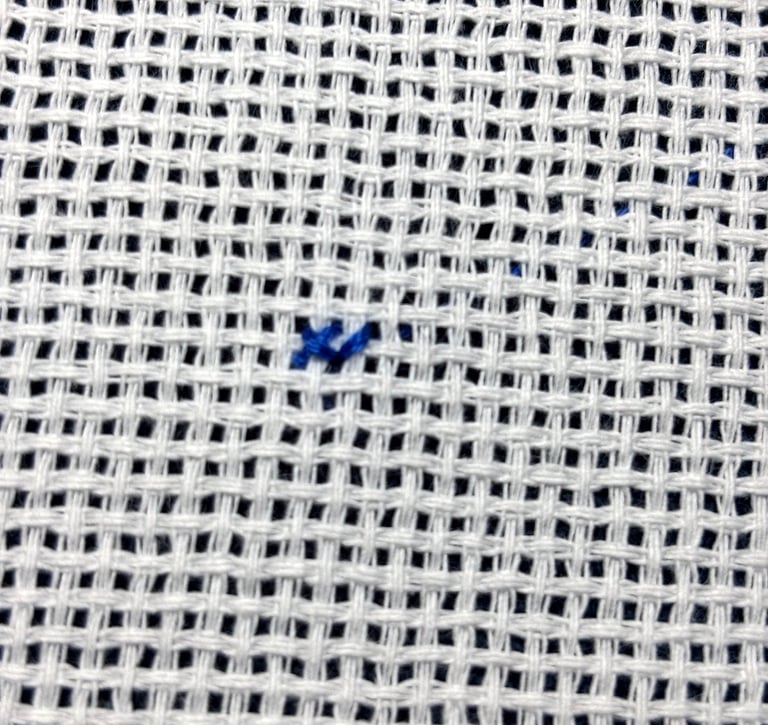
Completing a cross stitch
(second diagonal stitch)
Individual cross stitches
(each stitch is completed before starting the next)
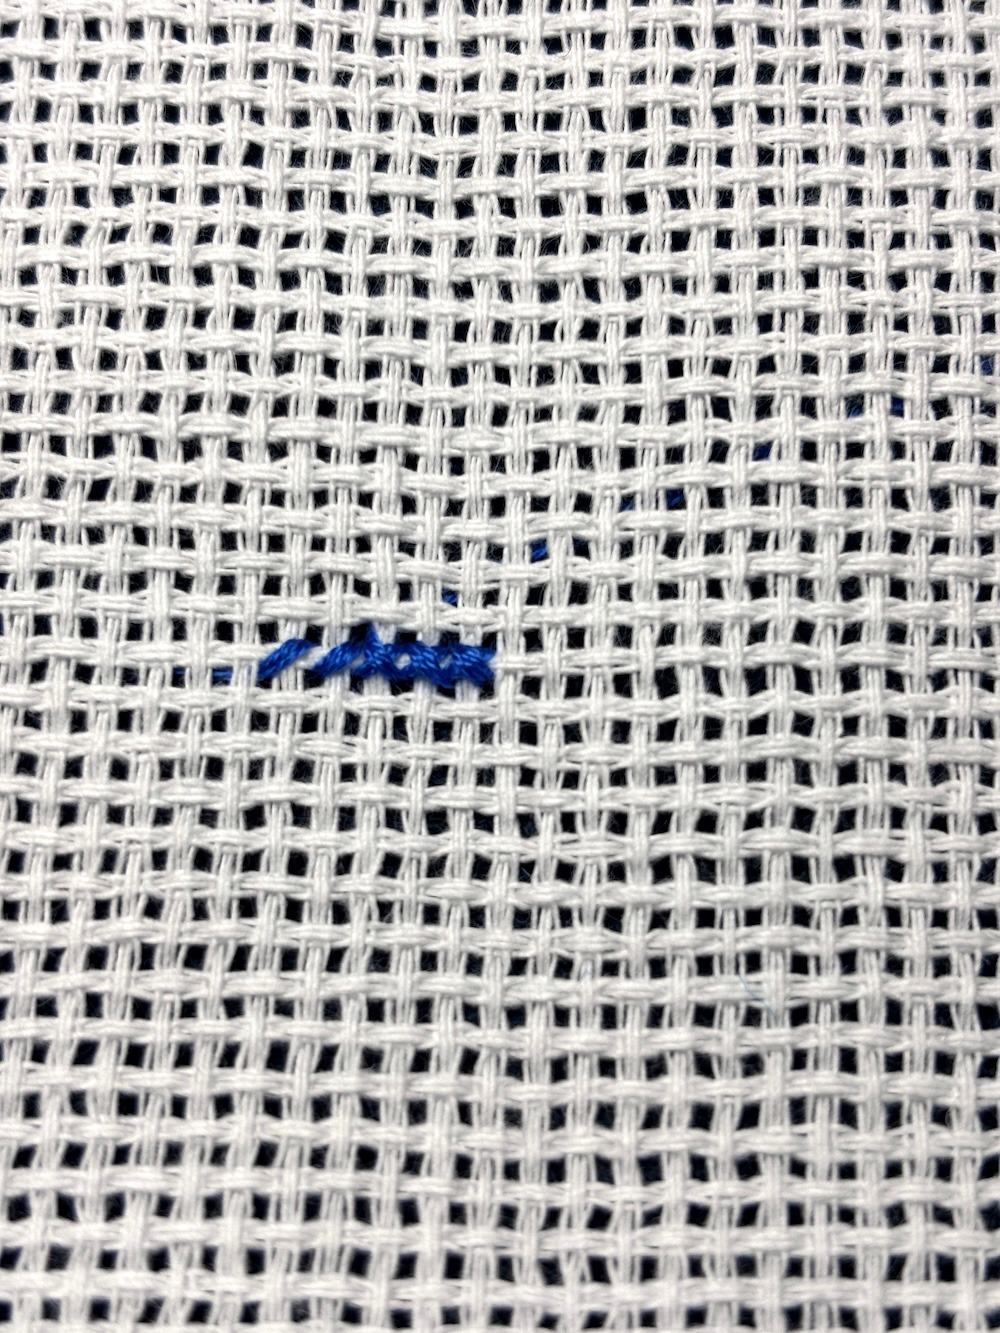
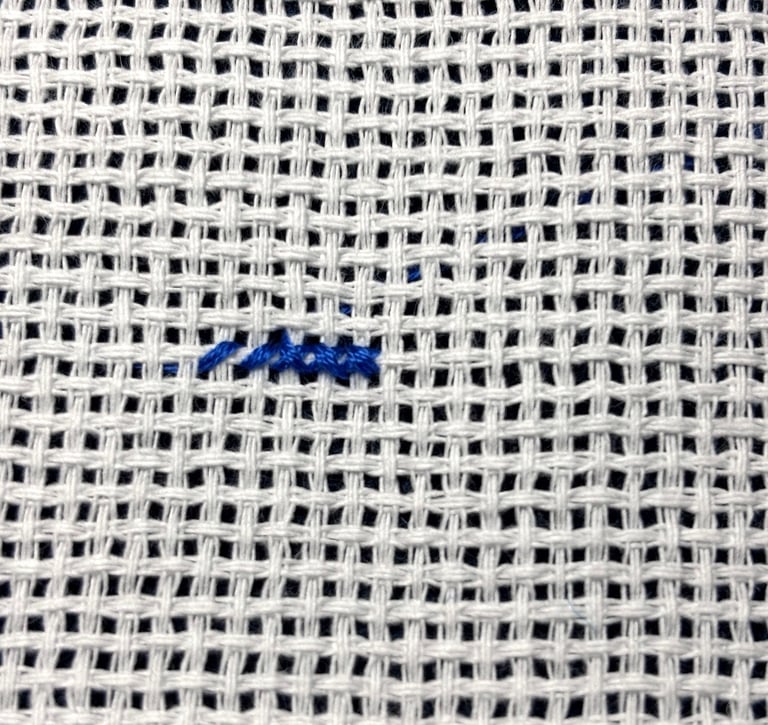
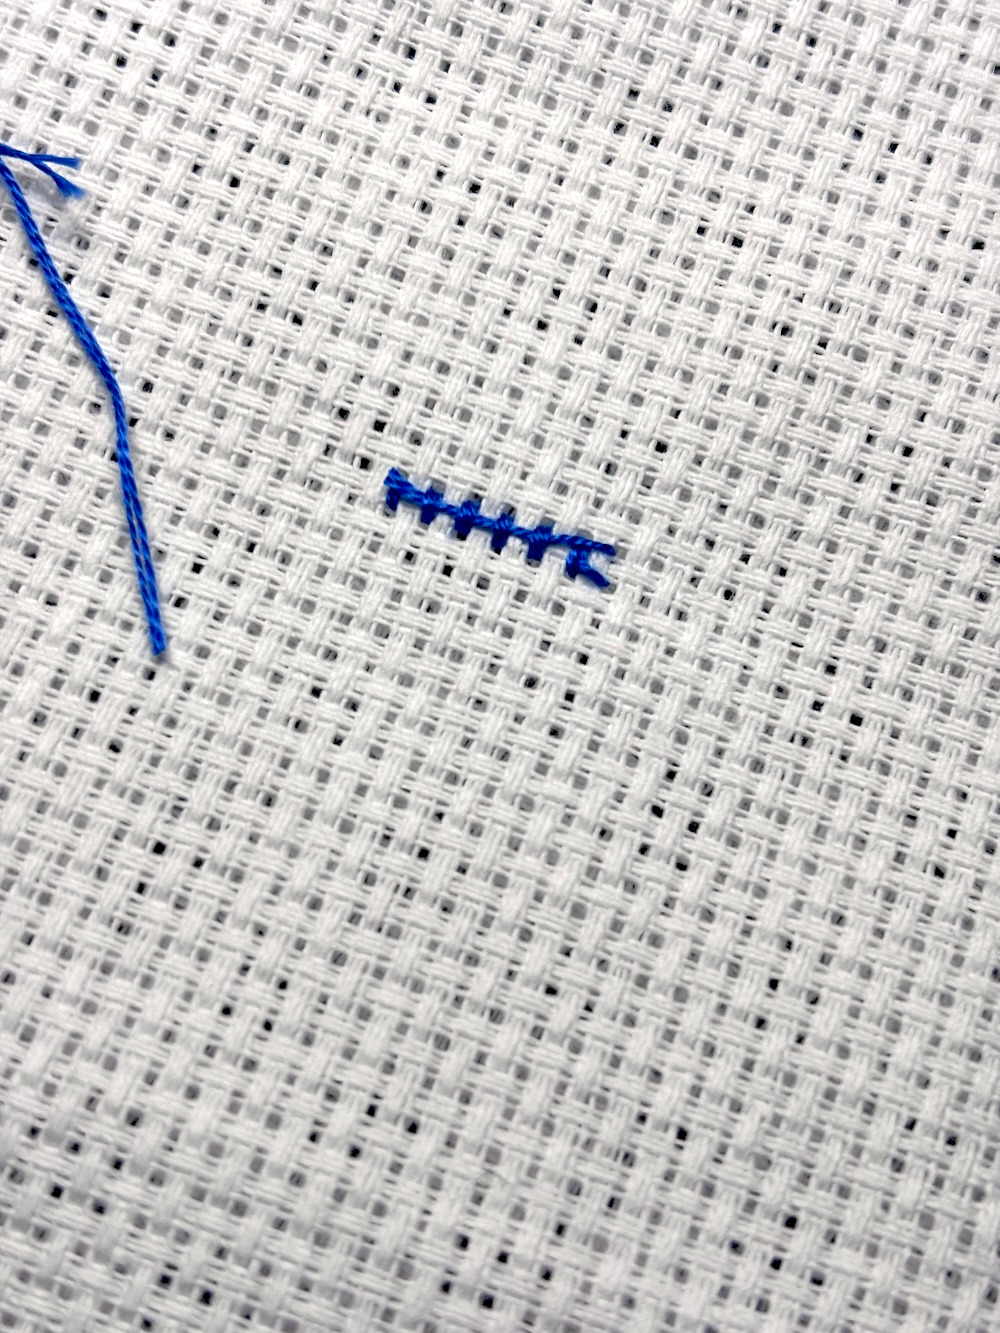
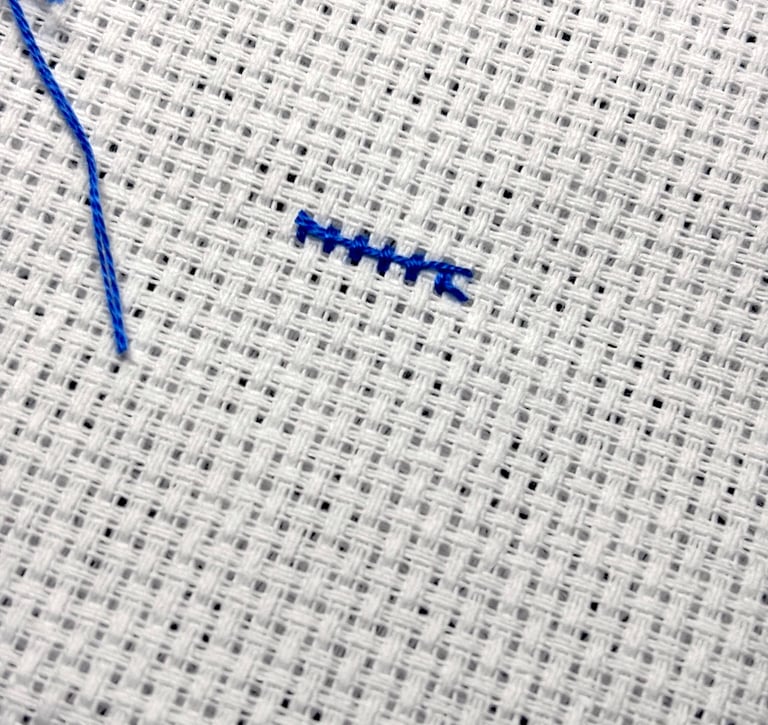
A row of half stitches
(lower diagonal stitches)
Completing the crosses
(upper diagonal stitches)
Good Cross-Stitch Practices
To achieve neat and beautiful embroidery, keep these simple guidelines in mind:
Use embroidery floss lengths of about 40–50 cm (16–20 inches).
Make sure the top stitches of every cross always slant in the same direction.
Avoid pulling the thread too tightly.
Don't leave long thread carries on the back of your work.
From time to time, let the needle hang freely so the thread can untwist.
Work in good lighting.
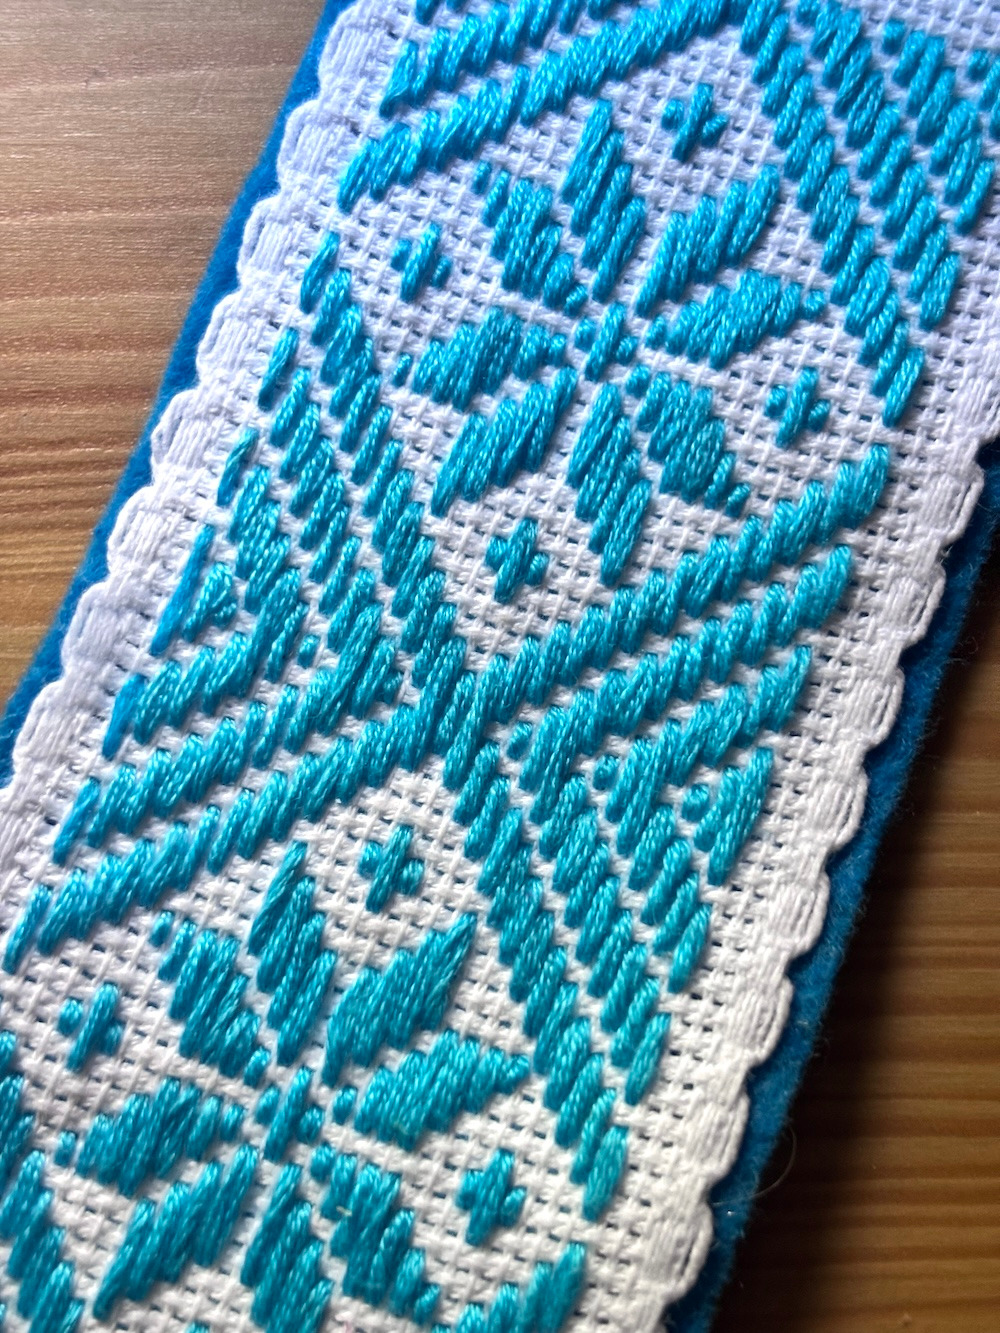
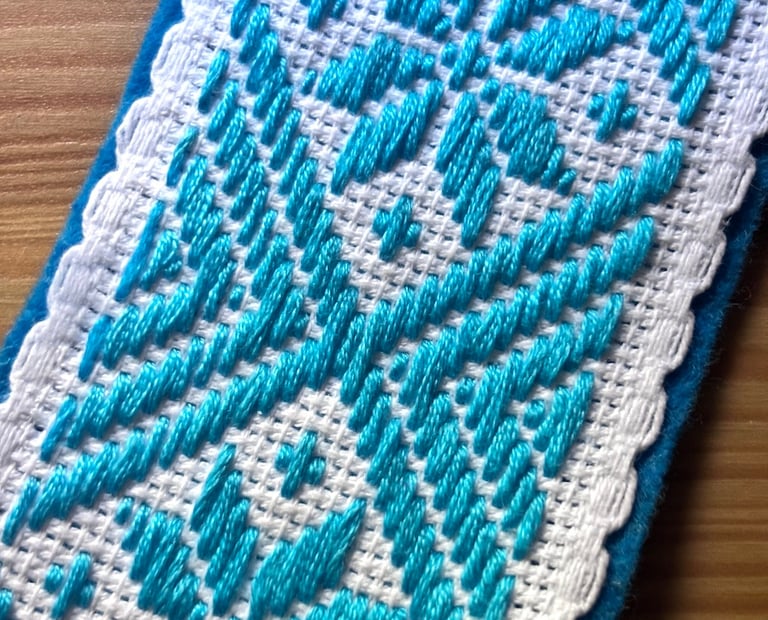
If you need to move to an area several squares away, it's usually better to finish off the thread and start again rather than carry it across a long distance on the back of the fabric. Long thread carries can show through the fabric and may also make the finished piece more difficult to mount or frame neatly.
What If I Make a Mistake?
Mistakes are a natural part of cross-stitch, especially when you're just getting started.
If you notice an error, first check whether it will affect the rest of the design. Sometimes a small mistake can be left as it is if it doesn't disrupt the overall pattern.
If the mistake needs to be corrected, carefully remove the stitches using the tip of your needle or a pair of small embroidery scissors. Work slowly and gently to avoid damaging the fabric.
It's a good habit to check your pattern every few rows. This makes it much easier to spot mistakes before you've stitched too far.
Removing a row of half stitches with a needle (lower diagonal stitches)
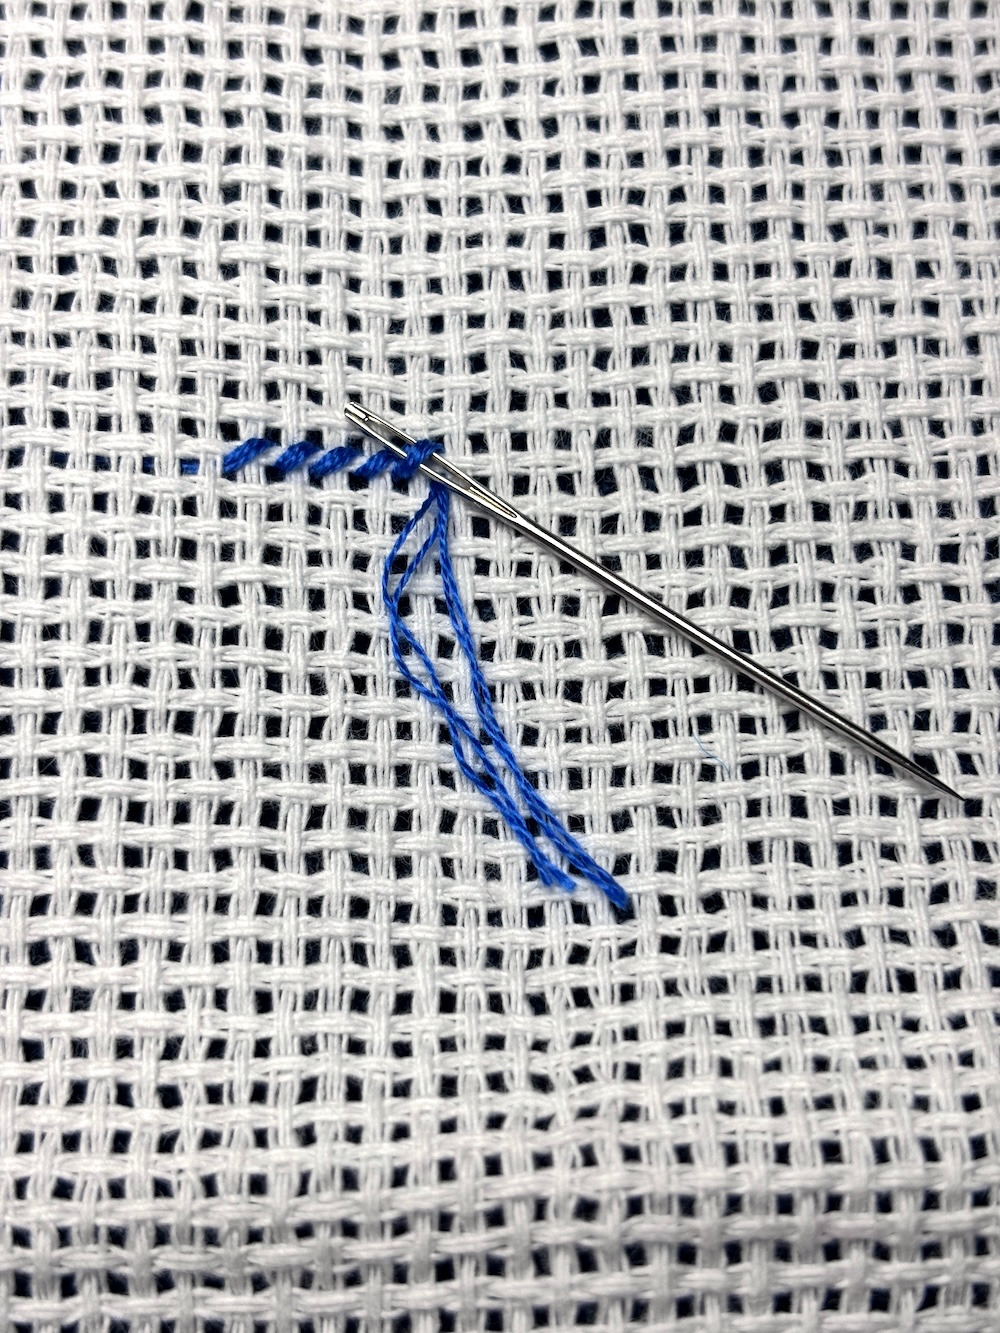
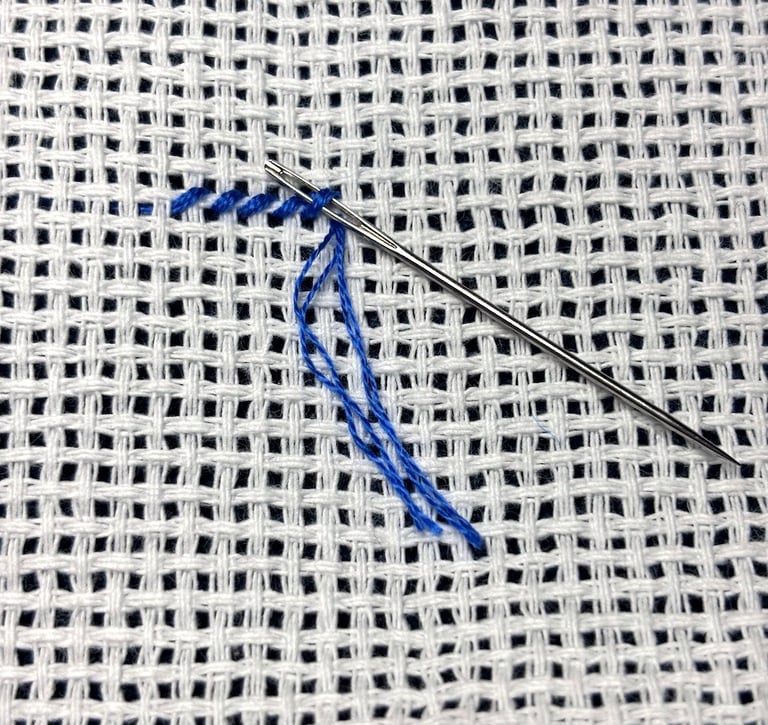
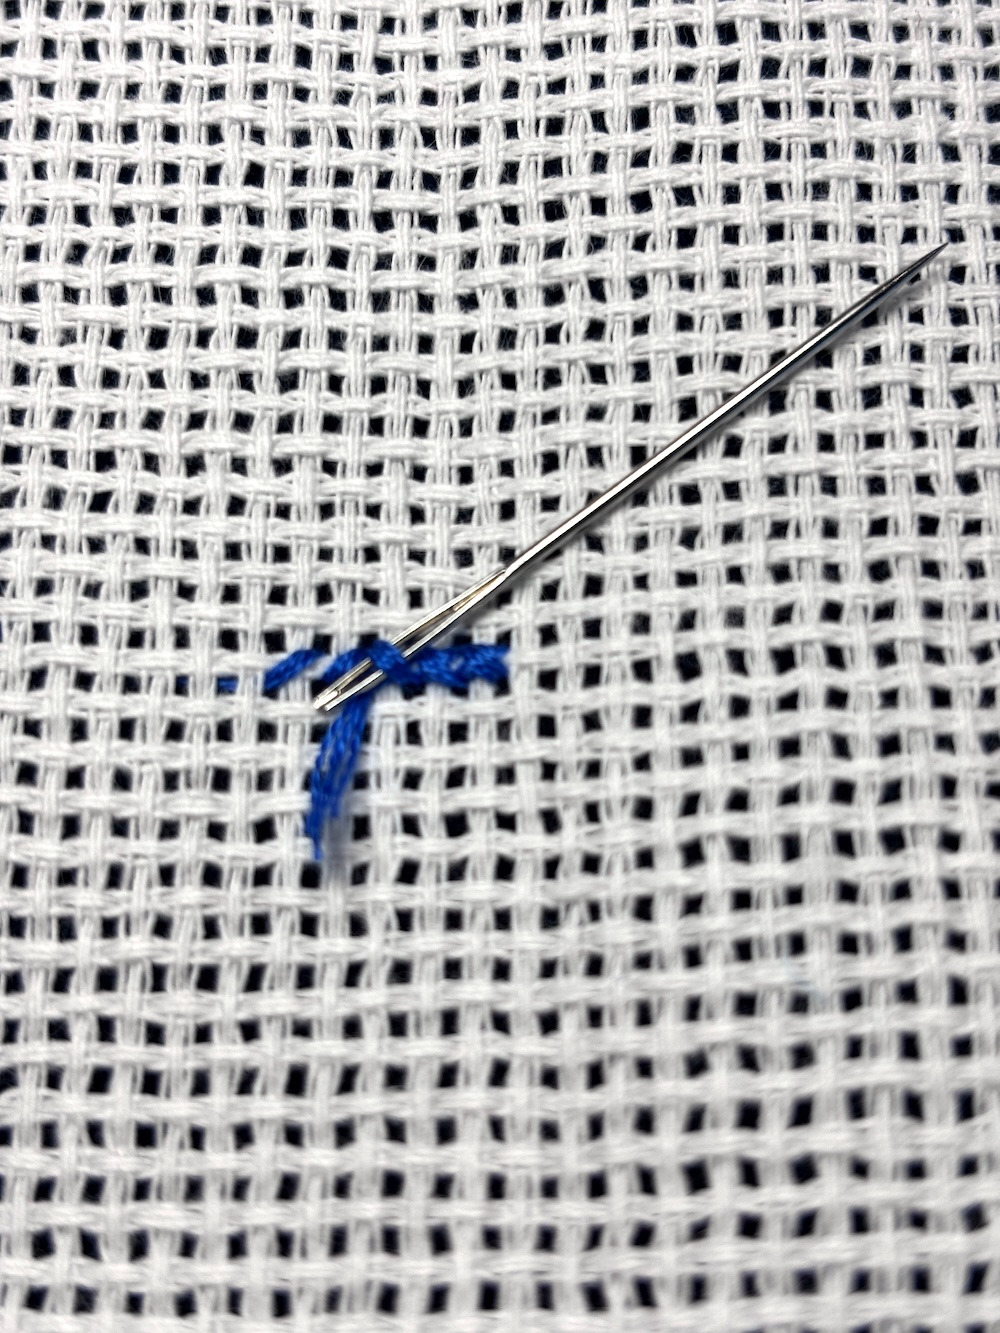
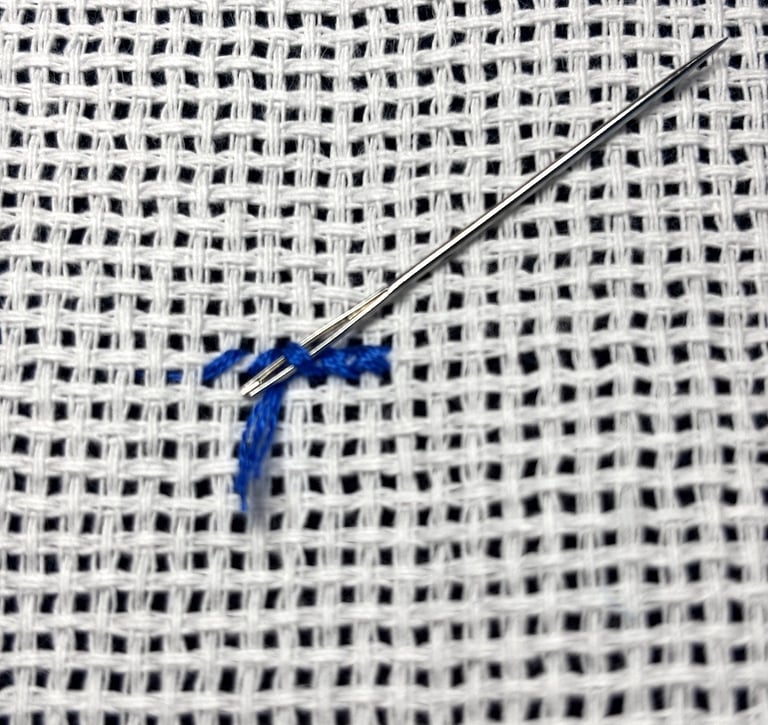
Removing a row of cross stitches with a needle (upper diagonal stitches)
How to Finish a Thread
When you run out of thread or need to change colours, bring the needle to the back of your work. Then weave the thread under several completed stitches and trim off the excess.
Avoid tying knots on the back of your embroidery. Knots can create bulky areas that may become visible after the piece is pressed, mounted, or framed.
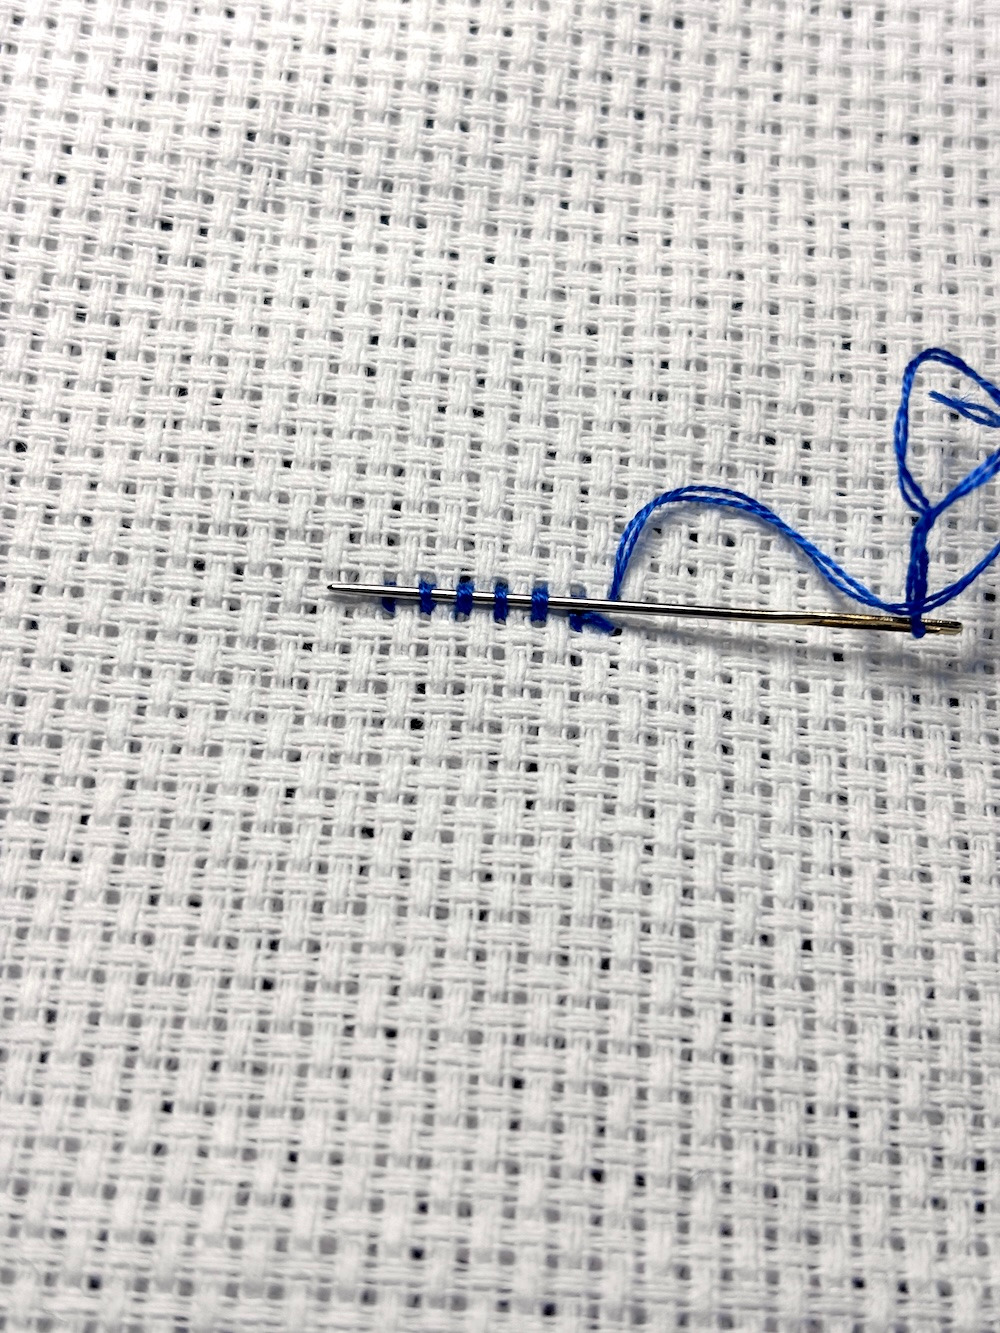
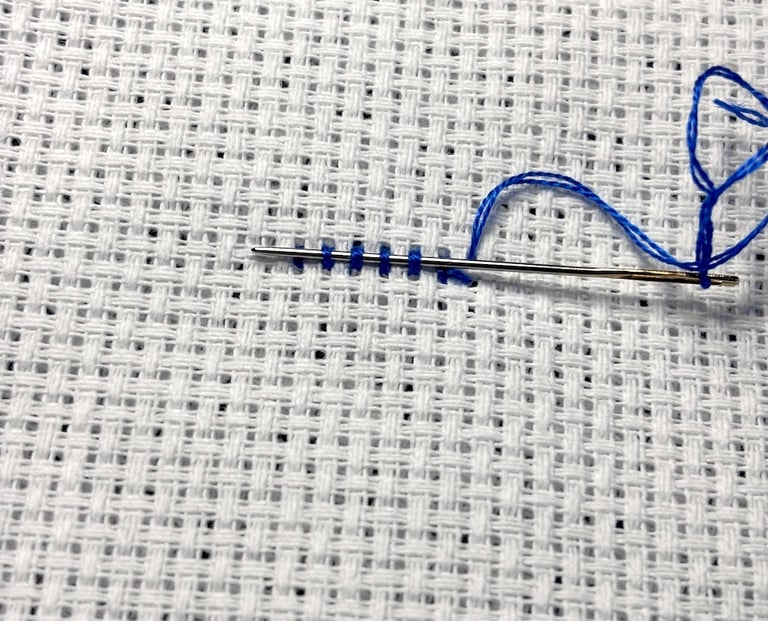
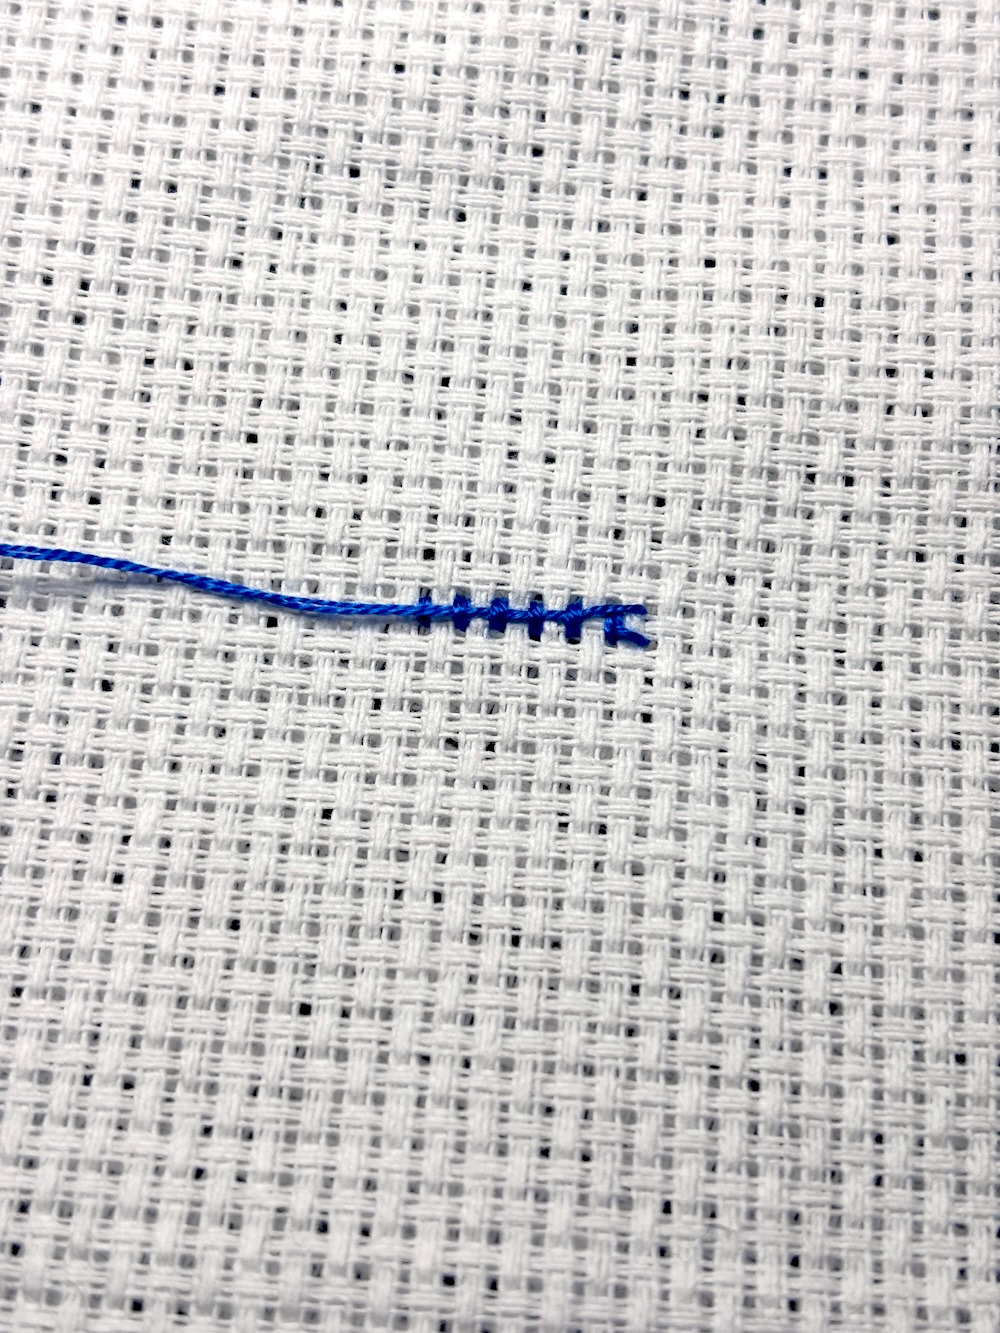
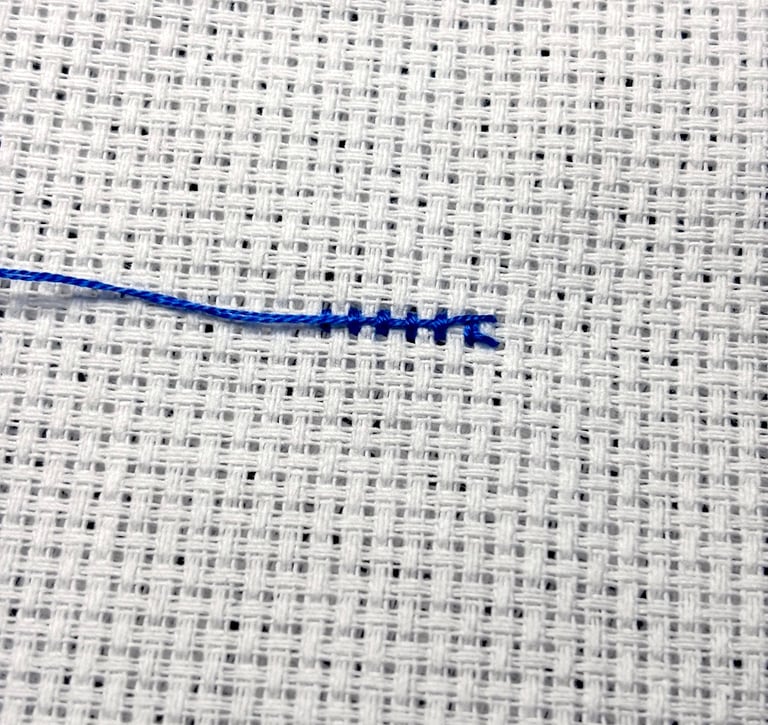
Weaving the thread under completed stitches
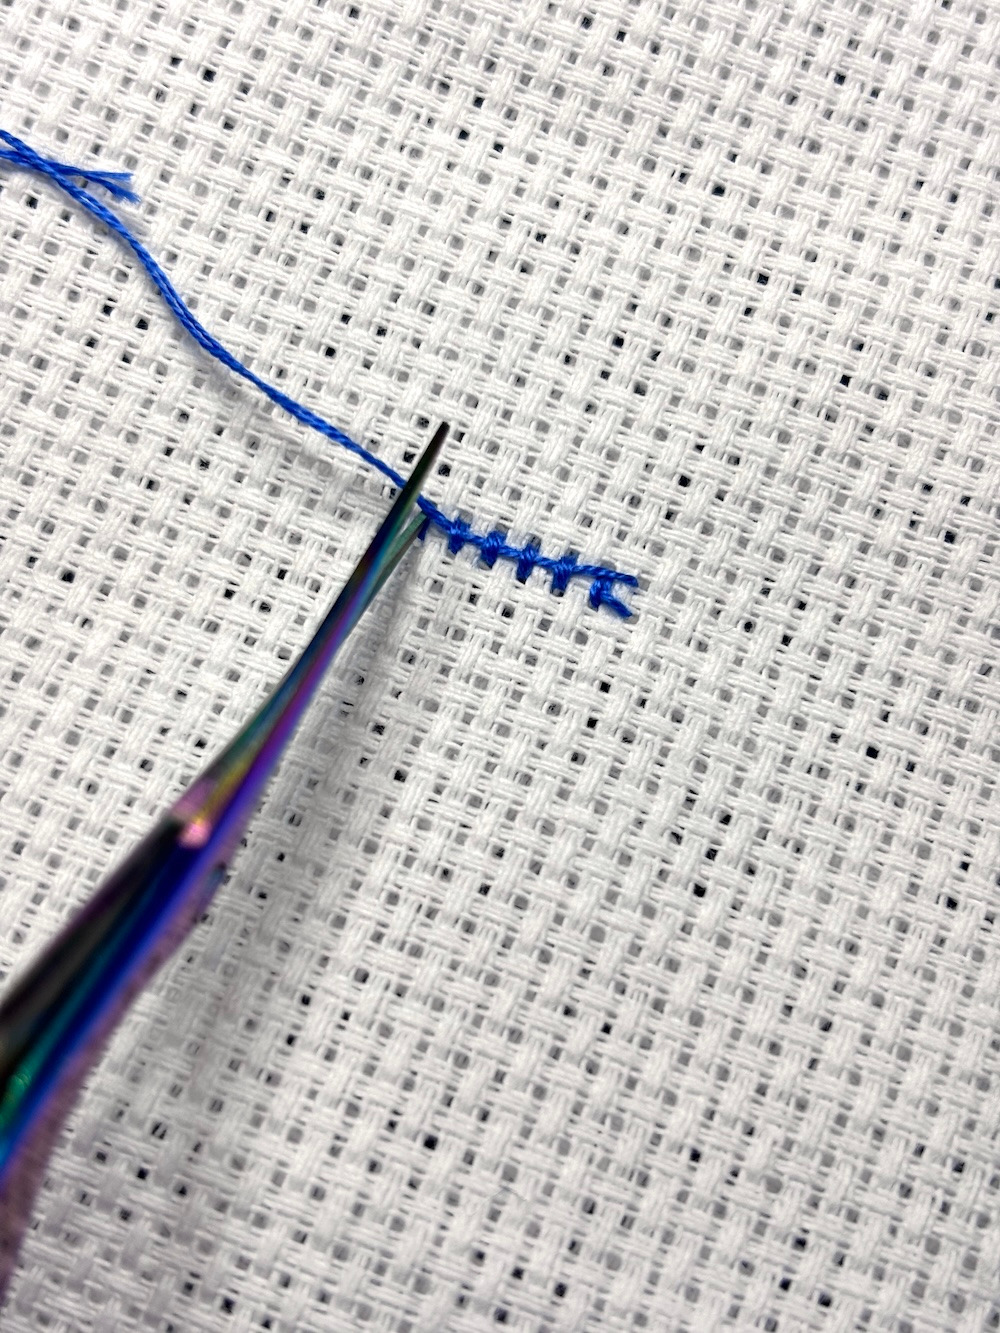
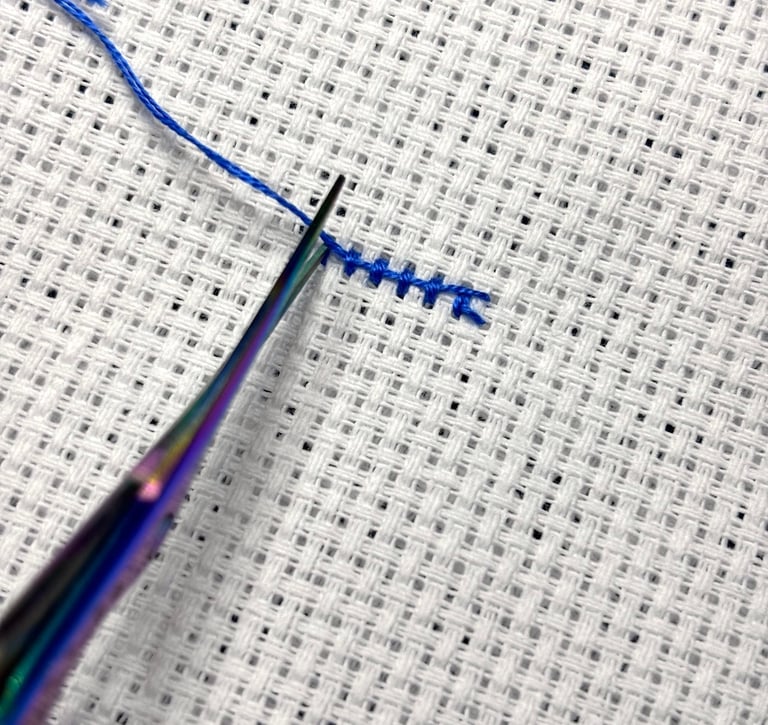
The thread securely woven into the back of the embroidery
Trimming the excess thread
Thread securely finished
(back view)
LoomRoom.pl
Social media
CONTACT
© 2026 LoomRoom
Address
LoomRoom
Galeria Leśna (1st floor)
3 Maja 47
17-200 Hajnówka