
The LoomRoom Cross-Stitch Guide
Part 2 - Getting Ready
Preparing Your Embroidery Floss
Before you begin stitching, cut a suitable length of embroidery floss. The most comfortable length is about 40–50 cm (16–20 inches) — roughly the distance from your hand to your elbow.
A thread that is too long is more likely to tangle, twist and wear out as it passes repeatedly through the fabric. A shorter length is easier to handle and allows for more accurate stitching.
To remove floss from the skein, slide the paper bands toward the centre so they stay in place. Then locate the loose end of the thread next to the band with the colour number and gently pull it out. Pulling the thread from the wrong end may cause the skein to become tangled.
If you need to stitch with multiple strands, separate them one at a time and then combine them. Avoid pulling out several strands at once, as this can easily cause the floss to knot and tangle.

Choosing the Right Number of Floss Strands
The number of strands you use has a significant impact on the appearance of your embroidery.
Using fewer strands creates a lighter, more delicate effect and allows more of the fabric texture to remain visible. More strands provide fuller coverage, resulting in a richer and more solid-looking design.
There is no single rule that says you should always stitch with three strands. The best approach is to make a small test sample on the same fabric you plan to use for your project.
Try stitching a few rows of crosses using one strand, two strands and three strands. Then compare the results and choose the look you prefer.
At LoomRoom, we often choose a balance where the individual cross stitches remain clearly visible while the fabric subtly shows through the embroidery. This gives the finished design a sense of lightness, texture and rhythm.
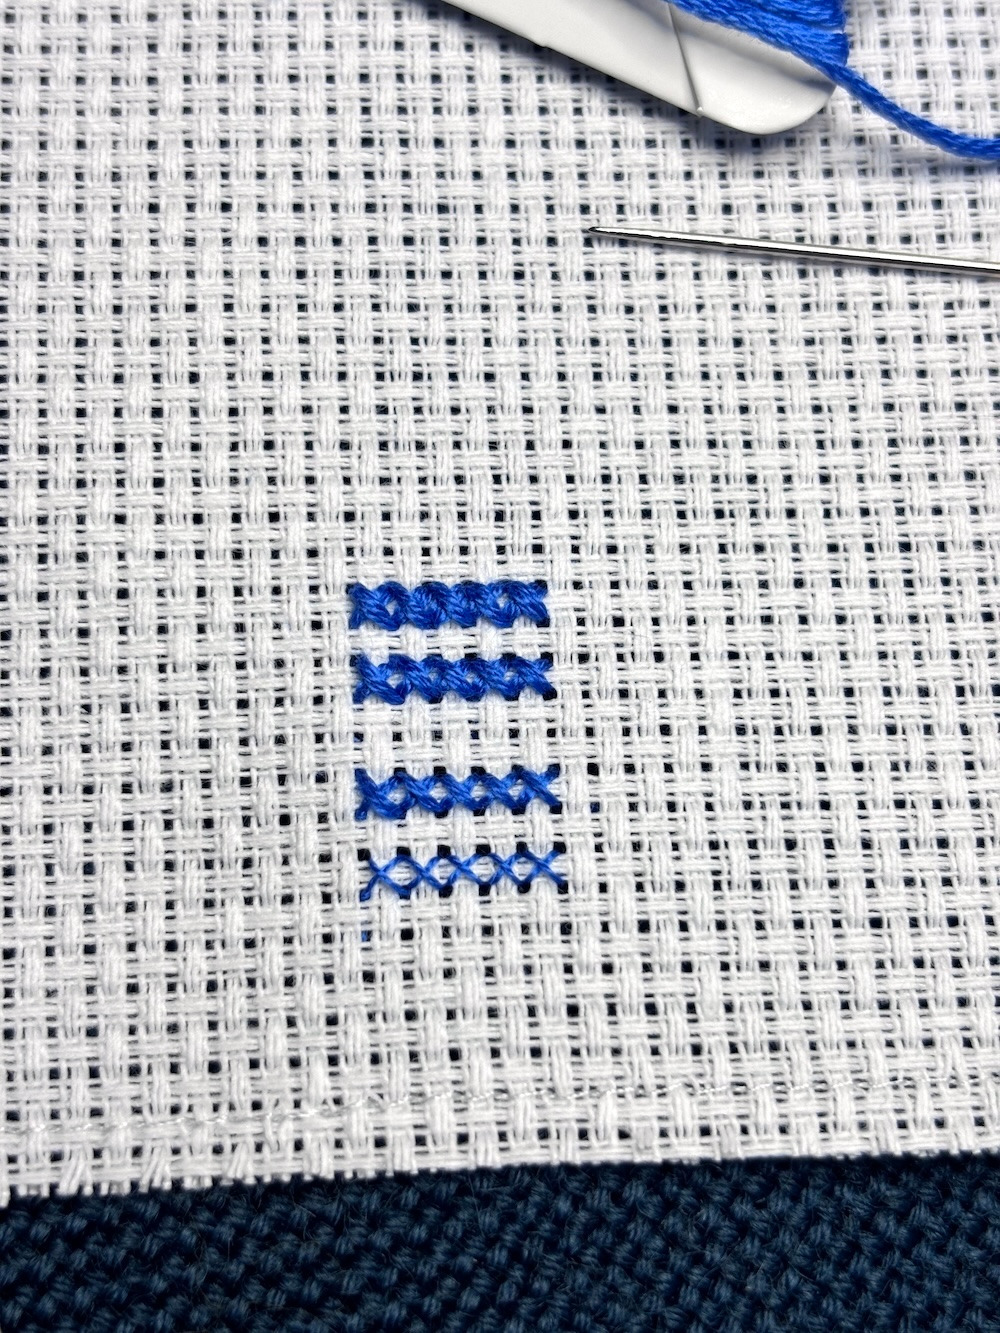
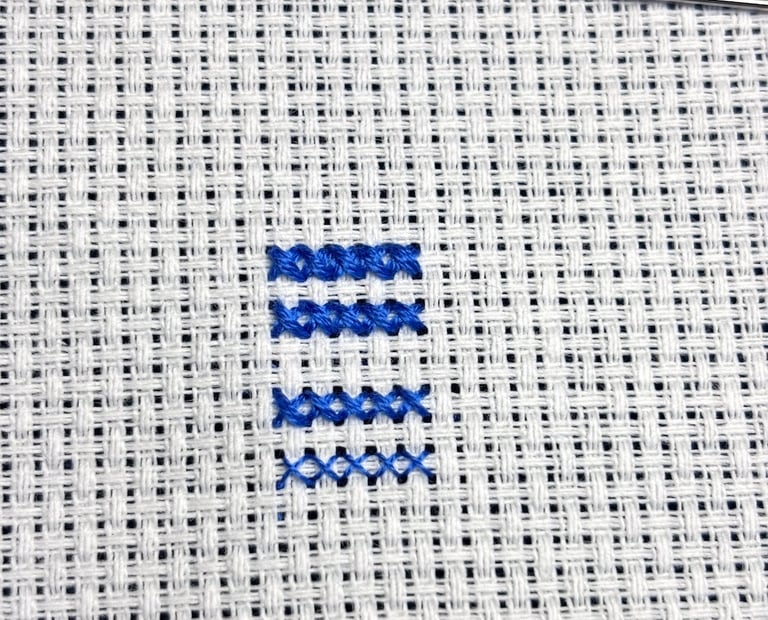
From bottom to top: stitched with one, two, three and four strands of embroidery floss.
Reading a Cross-Stitch Pattern Chart
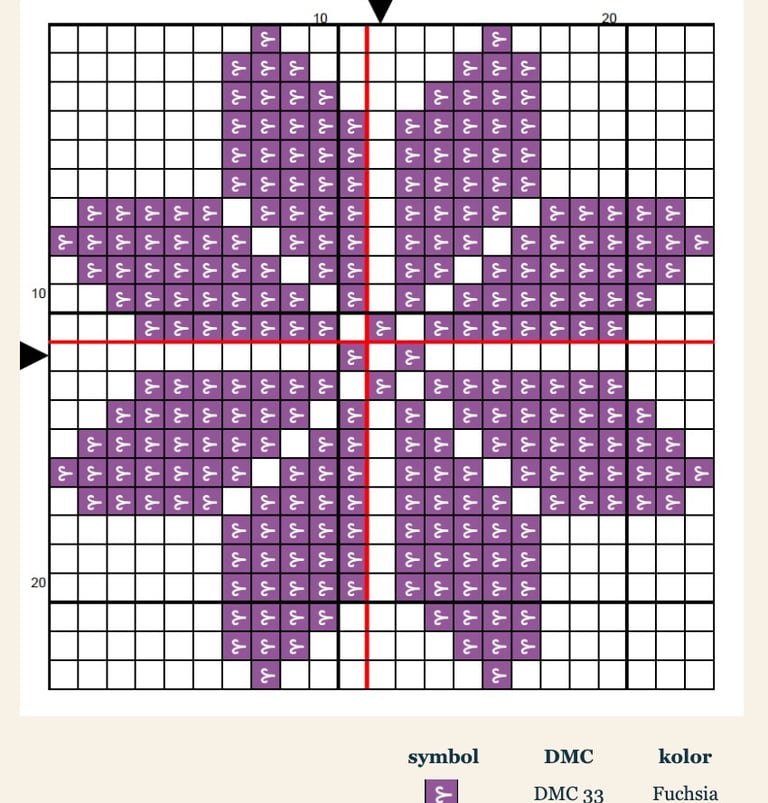
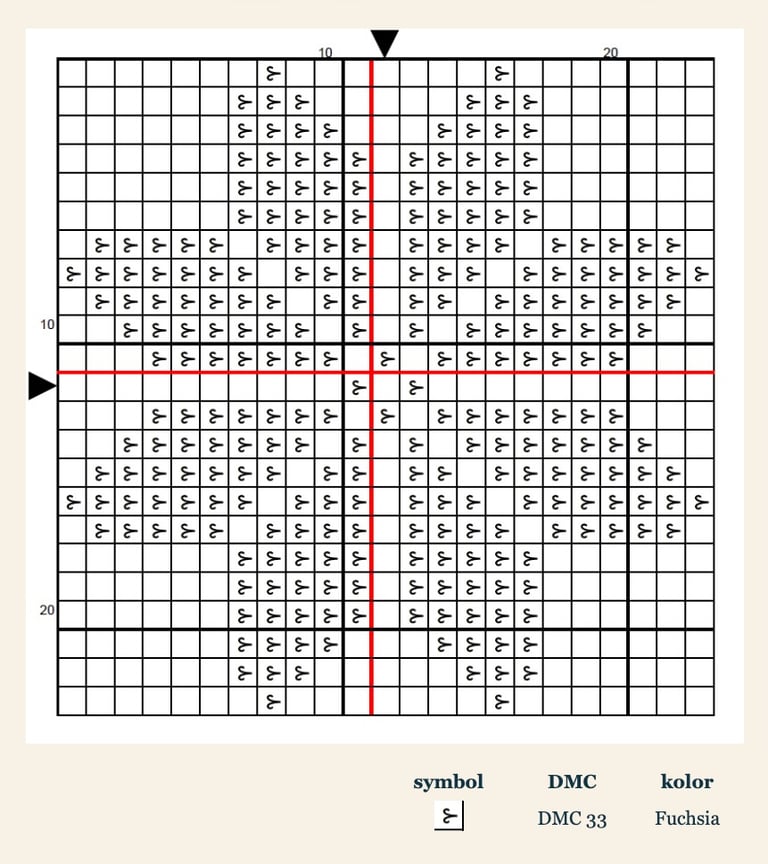
A cross-stitch pattern is presented as a grid, where each square on the chart represents one cross stitch on the fabric.
In our patterns, you may find several versions of the chart:
Colour chart — shows the overall appearance of the design and the placement of the colours.
Colour chart with symbols — makes it easier to distinguish between similar shades.
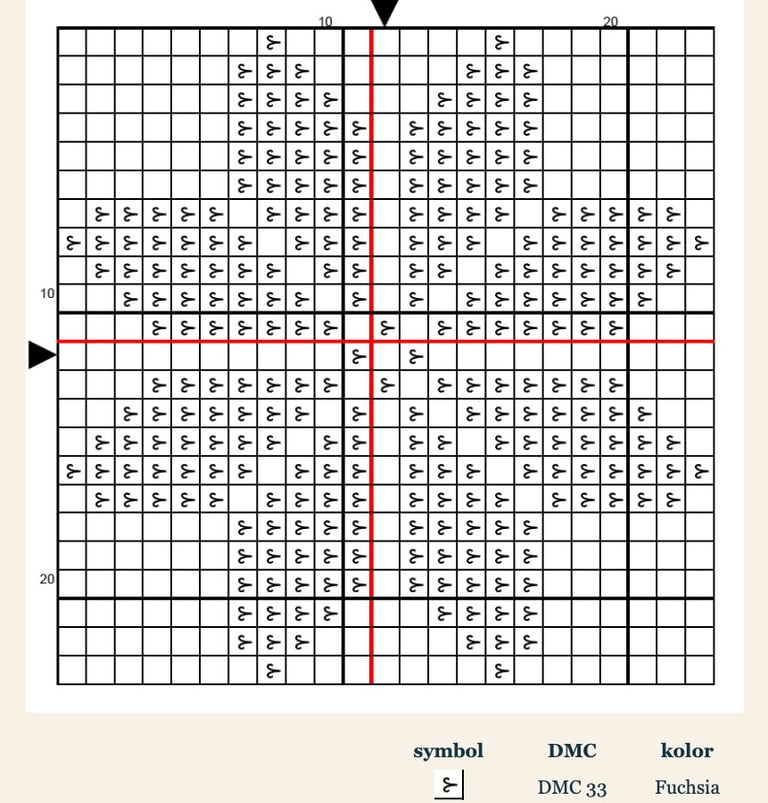
Black-and-white chart with symbols — especially useful for printing and working from a paper copy of the pattern.
Alongside the chart, you'll find a colour key (legend). It shows which symbol corresponds to each embroidery floss colour. Each colour is also identified by its DMC colour number, making it easy to prepare the correct floss before you begin stitching.
Before you start, it's a good idea to locate both the centre of the pattern and the centre of your fabric. This helps ensure that the design is positioned evenly and leaves sufficient fabric around the edges for finishing.
As you stitch, check the chart regularly and count the squares carefully. Geometric patterns require precision, so it's a good idea to review your work every few rows to avoid mistakes.
LoomRoom Tip:
If you're working on a larger design, mark the sections you've already completed on a printed copy of the chart using a pencil or a highlighter. This simple habit makes it much easier to keep your place and avoid stitching errors.
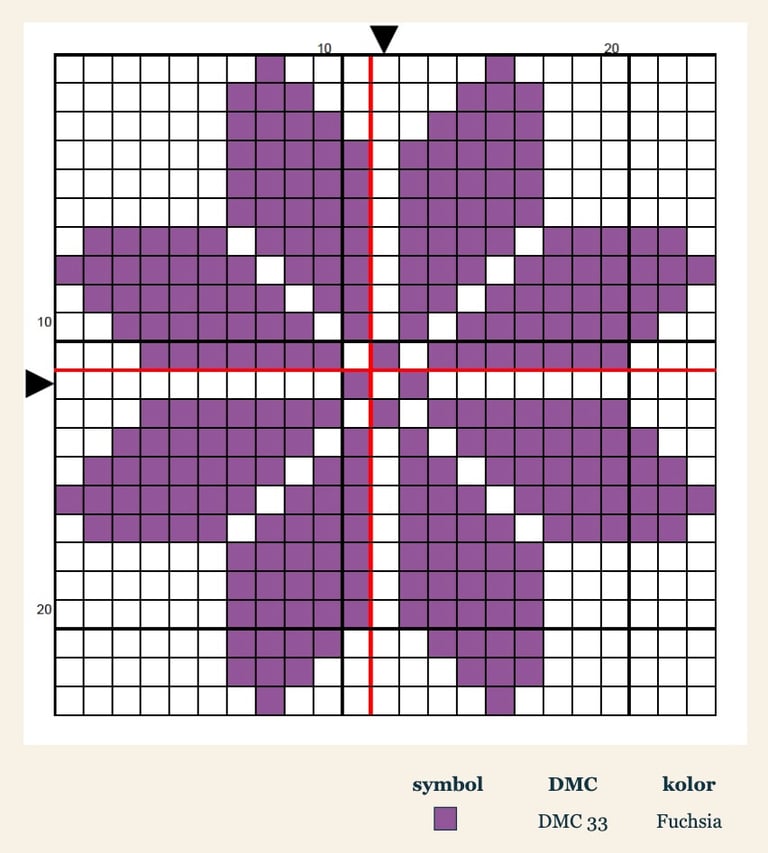
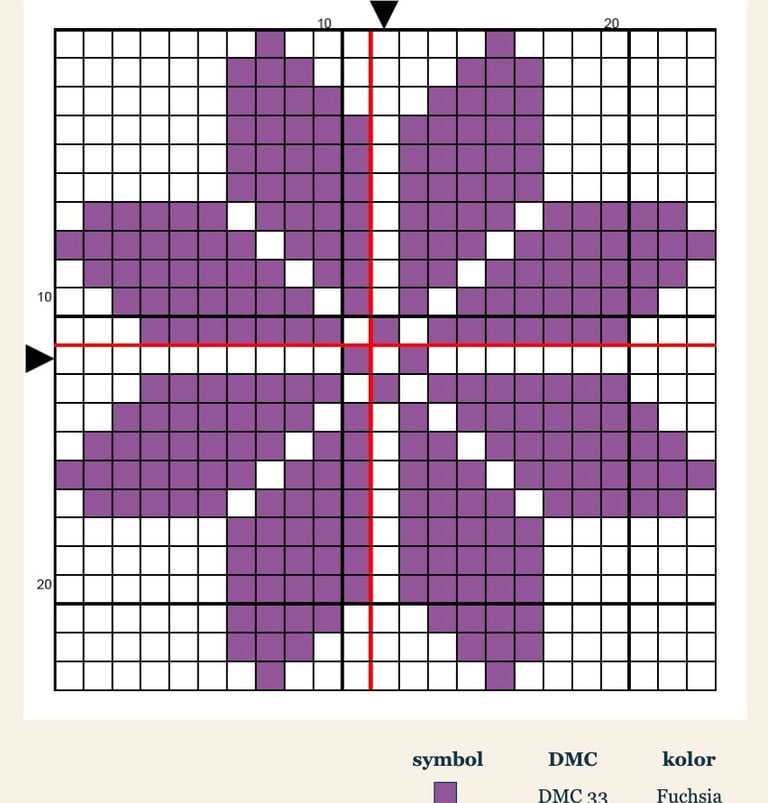
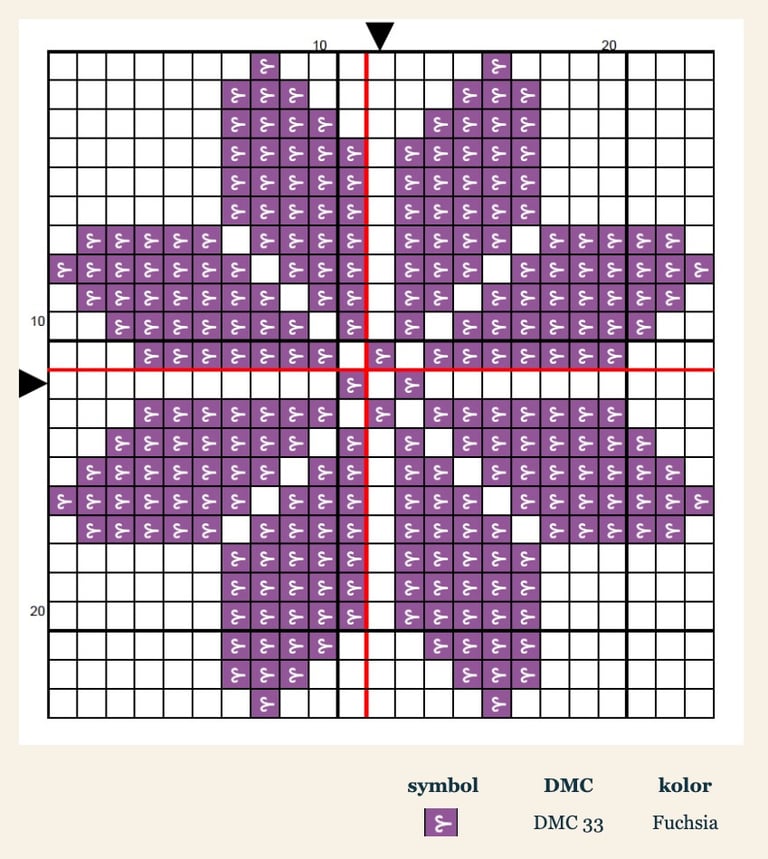
Colour chart
(example)
Colour chart with symbols
(example)
Black-and-white chart with symbols
(example)
How to Find the Centre of Your Fabric
The easiest way to find the centre of your fabric is by folding it.
Fold the fabric in half from side to side, then fold it in half again from top to bottom. Gently press the folds with your fingers, then unfold the fabric.
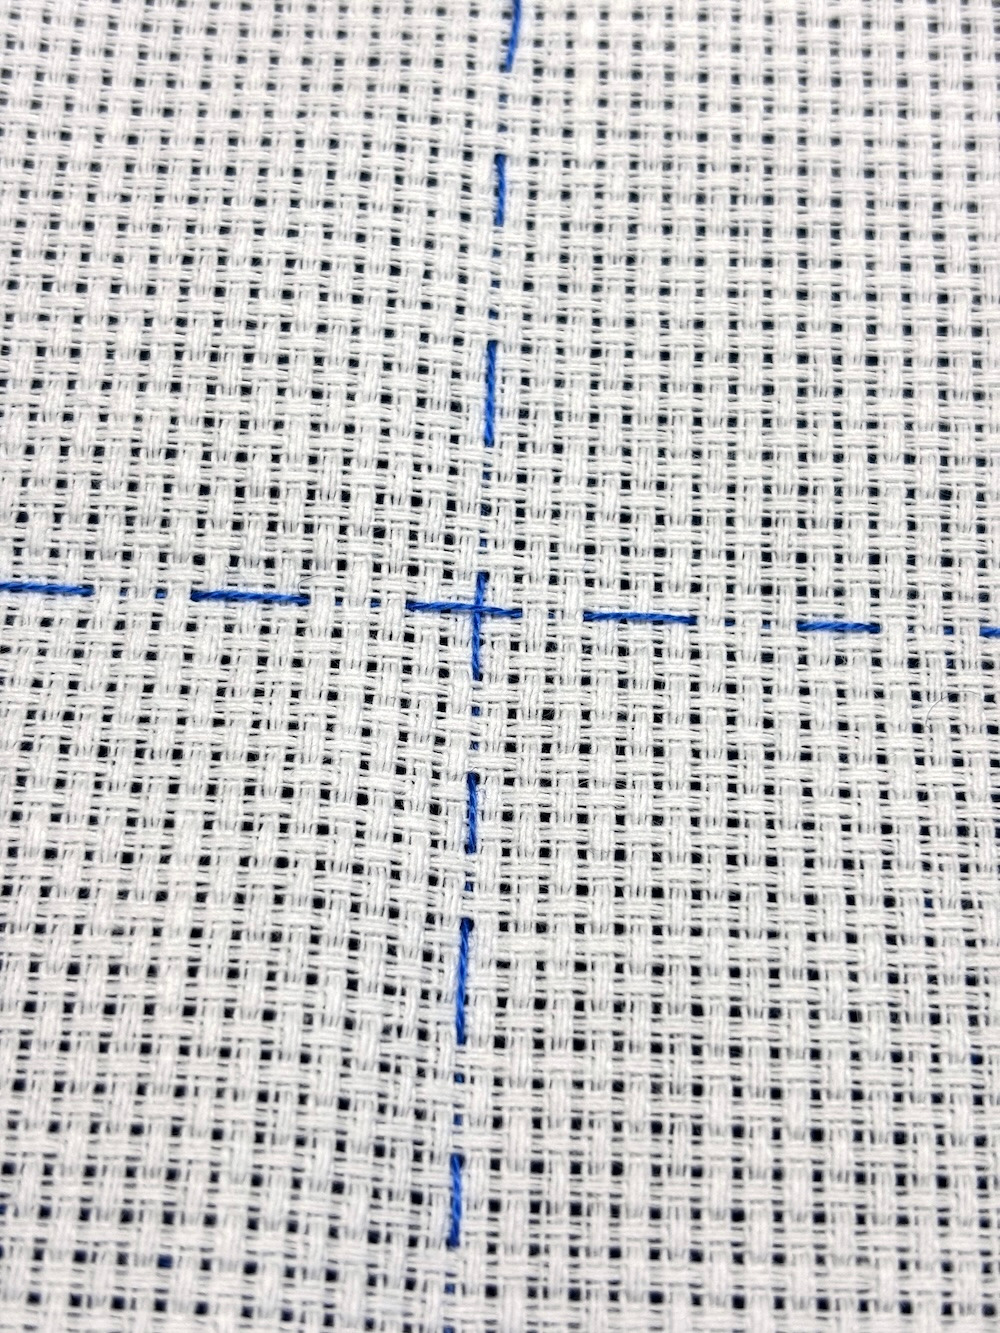
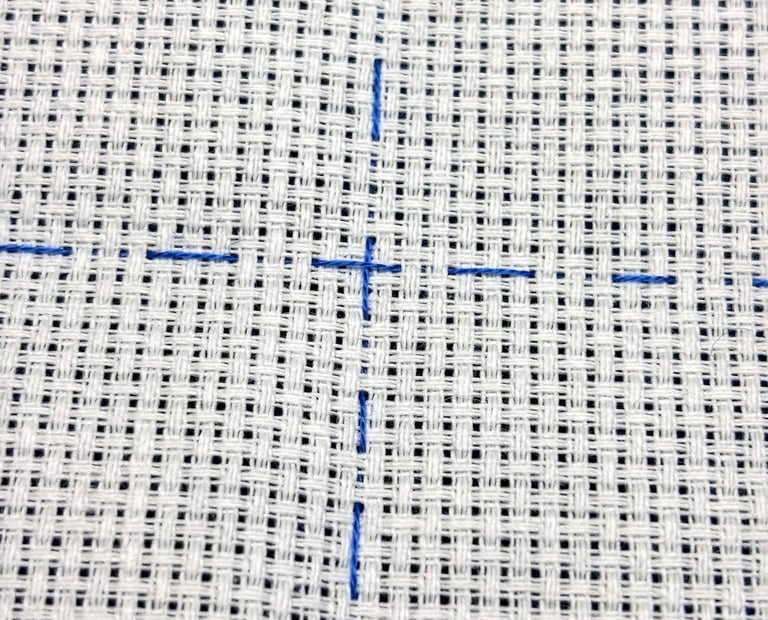
The point where the two fold lines intersect marks the centre of the fabric. You can mark this spot with a contrasting thread, a small temporary basting stitch, or a washable fabric marker.
Avoid using a pen or pencil, as they may leave permanent marks on the fabric.
If you need maximum accuracy, you can also count the squares horizontally and vertically, divide the totals in half, and mark the centre based on the exact stitch count.
LoomRoom.pl
Social media
CONTACT
© 2026 LoomRoom
Address
LoomRoom
Galeria Leśna (1st floor)
3 Maja 47
17-200 Hajnówka